Project Level Roles
The Project Level Roles feature gives Trimble Unity Construct account administrators the ability to place users in project-specific roles. This makes it possible for a user to be in a role on Project A while being in a different role on Project B. Project roles are dependent on the existence of an account role. Therefore, account roles must exist for every single role used on the account. However, to apply roles to the project level simply do not add users to these roles at the account level, because permissions of the account role will always take precedence.
If users are placed in an account role, they will have the permissions associated with that role across all projects. If they are placed in a project role, they will have permissions for that project only.
Remember, when adding users to a project level role ensure that no users are added to the account level role, because if they are, they will have the role's permissions across all projects.
To add users to project level roles
- Go to the Users settings.
- Click Manage Roles.
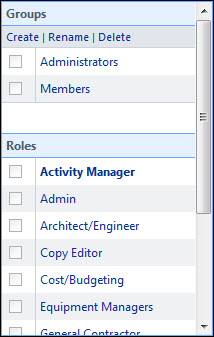
- Click the title of the role.
- Select the check box next to the user(s) you want to add to the role.
- Click Apply to Project Level.
- Click OK.
All users currently in the account role are listed on the Users table.
A message displays informing you that the selected users will be placed in the project level role on all projects that they are a member of. See Edit Project Role Associations for instructions on placing users in different project roles.
Click the number in the Project Level column to view the projects that the user is a member of.
If you have never used project level roles before, but already have account roles set up, it is important to note that your account will function in the same way as it always has. After transitioning account roles to project roles, the permissions and notifications that are set up for Documents, Forms, Process, Schedule, Submittals and all related areas will automatically apply to the project role after it is created. No additional action is required from you to sustain your current configurations.
Transitioning a user from the account level to the project level is a three-step process:
- Ensure that the user is a member of the projects you want to add project level roles for. If they are not, grant them project access.
- Add the user to the project role.
- Remove the user from the account role.
All of these tasks can be completed from the Manage Membership page.
Viewing role association grouped by role will allow you to see all members within a role and whether or not they are members on the account or project level. This is beneficial to ensure that user roles associations are configured as expected.
It's possible for a user to be within a role on both the account and project levels, but if this is the case, the account role will take precedence, which means that the user will be in this role on all projects that they are a member of. For instructions on removing users from an account role, see Remove Users from Account Role.
- From the Top Navigation Tabs, click the Projects tab.
- Choose the project from the Projects drop-down menu.
- From the Projects Menu, click Project Participants.
- In the Roles section, click the role you want to view associations for.

A list of members in this role display with a check mark that indicates whether or not they are members of this role on the account or project level.
