e-Builder field mappings are available to help you quickly capture data that is stored in the system into your fax cover sheet. Information such as project name, project contact, custom fields, various company information can all be automatically populated into your fax cover sheet. Using field mappings is easy and will help you save a lot of time when it is necessary to customize each fax cover sheet according to bidder and project specifications.
To customize your template using field mappings:
- Go to the bidding settings.
- Click Fax Cover Sheets.
- Click the Go to Mail Merge Field Mappings link.
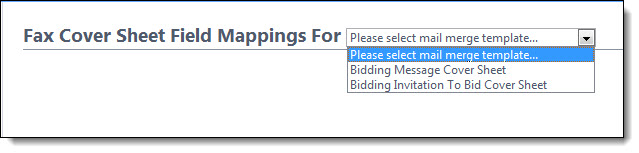
- Click the Fax Cover Sheet Field Mappings For drop-down list, shown below, and select the type of field mappings you want to see. Various field mappings display for you to choose from.
For more information, see Access Bidding Settings.
The Fax Cover Sheets page is displayed.

Keep this page open or print the merge codes for easy access when adding the field mappings to your template.
Add Field Mappings to your Template (Using Microsoft Word 2007 ®)
- Open the template you want to add field mappings to.
- Place your cursor in the position you want to add the merge code.
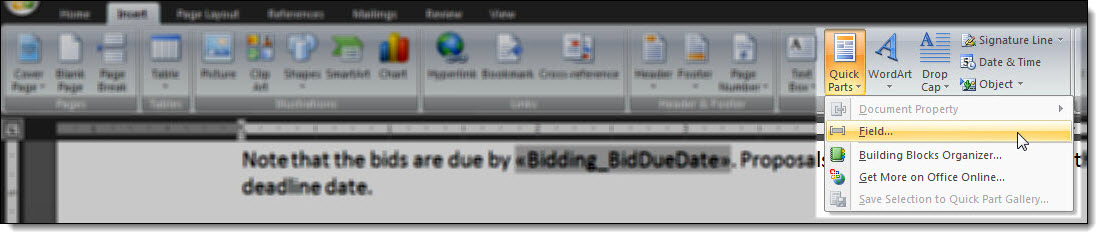
- Click the Insert ribbon.
- Click the Quick Parts drop-down arrow, and then select Field.
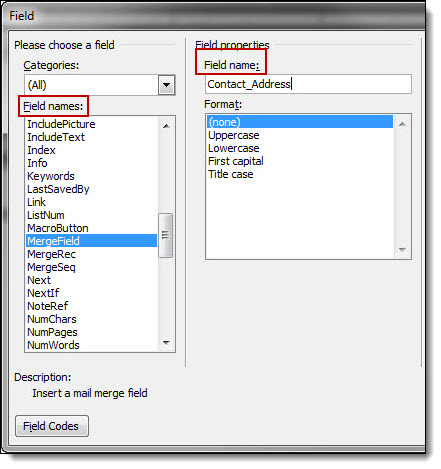
- In the Field names: section, scroll down and select MergeField.
- Enter the e-Builder merge code In the Field Name field.
- Click OK. The merge code is added to the word document.
- Save the document to your local machine.
- To store this document as a template in e-Builder, see Create Template from Word Document.