Enable Folders for Public Access
Administrators have the ability to provide public access to e-Builder folders. Once these settings are established, a public folder URL becomes available for distribution.
To make a folder public
- Go to the Project Documents page.
- Click the name of the folder you want to make public.
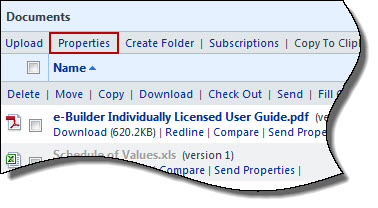
- Click the Properties link underneath the folder path.
- Click the Public Access Permissions drop-down arrow and select a public access option. The following options are available:
- No public access allowed (default selection)
- Allow access without registration
- Require registration to access - Select this option to require the recipient of the folder URL to create an e-Builder username and password in order to login to the system. You will then be able to view a list of all registered users by clicking the Folder Properties Public Access History Tab.
- Optional: You can choose to enable sub-folders for public view as well by clicking the Show public sub-folders on public view check box.
- Click Save.
- If you chose to include sub-folders, confirm this change by selecting the Apply this setting to all sub-folders check box.
- Click Save.
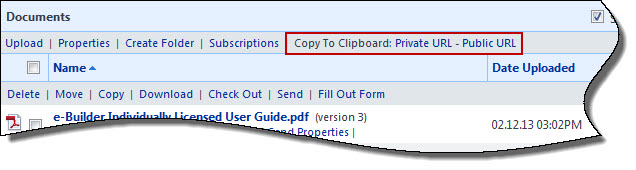
After the folder is made public, a Public URL link displays in the section underneath the folder name. Click this link to copy the public web address to your clipboard for distribution.
To view the public web address, click the Properties link. The web address is listed in the Public Folder URL field.
Related Topics: